
You’ve gotten your new baby home and now it is time to add a few personal touches. Maybe your RV came with a TV or maybe you are adding a second one in the bedroom like we were. Either way, it is highly stressful to think about drilling holes in the walls of your very expensive new toy.
To start this project you will first want to research and purchase the TV mount. After reading what each type offered, we chose this one, but before you go to Amazon and add it to your cart, I want to let you in on a secret. After we installed this mount we decided it wiggled too much because it had so many set screws, so bought another one, which we are much happier with.
Once you’ve gotten the mount, the next step is to gather all of the tools needed to start this project. You’ll need a few magnets. These are to help locate the metal backing plate in the wall of your RV. Note – DO NOT try to hang your TV anywhere other than where the RV manufacturer has placed a sticker stating “TV backing plate”. You will cause damage to your camper if you do not install the TV where specified and it’s possible the TV could fall off the wall. Disclaimer aside, you will also need a tape measure, a pencil, a drill for drilling the dreaded holes, a drill bit to start the pilot holes, a regular screwdriver, and a level. Once you have these all laid out within easy reach, it’s time to get to work.
Kevin started by putting the TV Backer included in the mount kit onto the back of the TV. Then he put the magnets on the wall and moved them around until he knew where the metal plate was. Next he used the measuring tape to center the TV within the available space. Don’t worry, the link below will explain it better. Mark the holes with your pencil where you will be drilling the pilot holes. Be VERY careful drilling holes into an outside wall. Once the drill bit bites, pull back quickly! You do not need any more holes in an outside wall! Once the holes have been drilled, align the mounting plate with the holes you’ve drilled. Use your level to make sure that you are installing it straight. Tighten the screws or lag bolts to finish off the mount. Finally, mount the TV with the backer plate on the back to the bracket arm. It’s that simple!
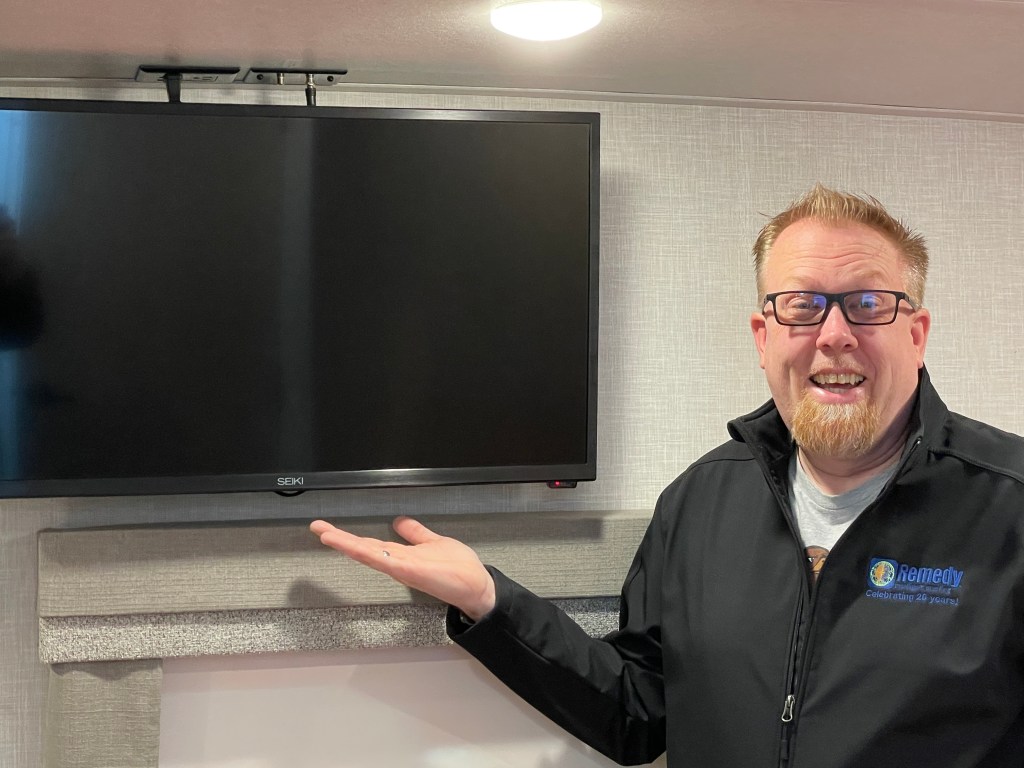
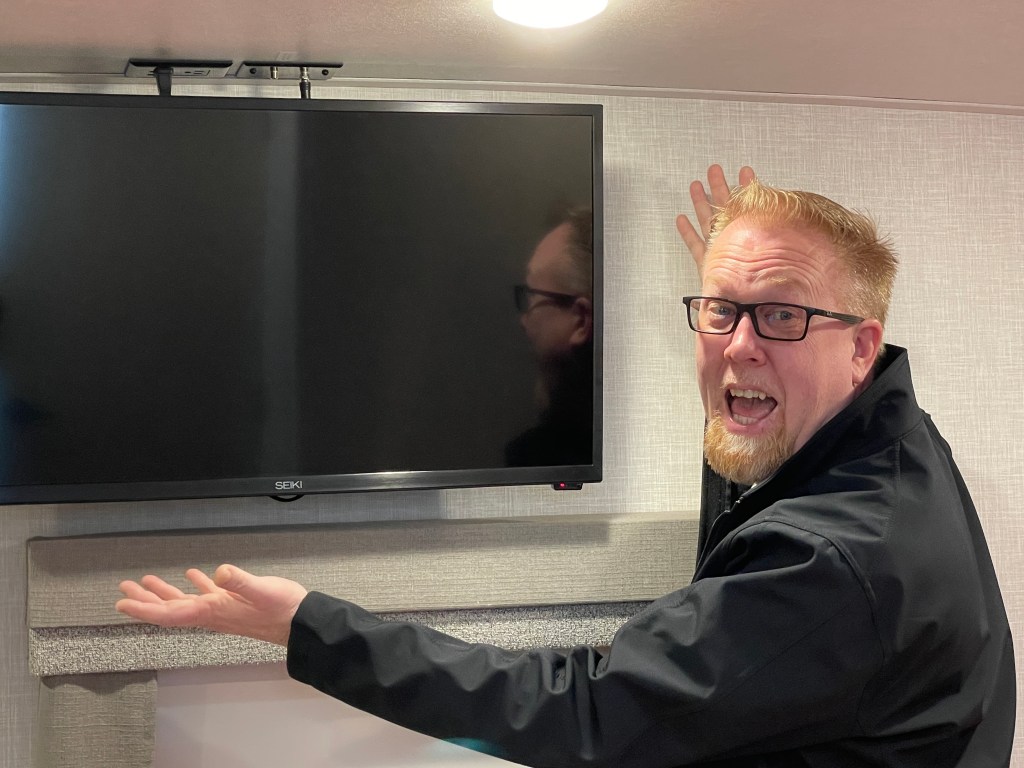
Kevin struggled with drilling holes into the RV but once you do one correctly, the rest are a breeze. Just take your time, this is not a project that you need to rush. If installing the mount on an inside wall, chances are good that there is a stud behind the wall and you won’t accidentally poke a hole to the outside. Now sit back and enjoy the show. You’ve earned it!

Leave a comment